
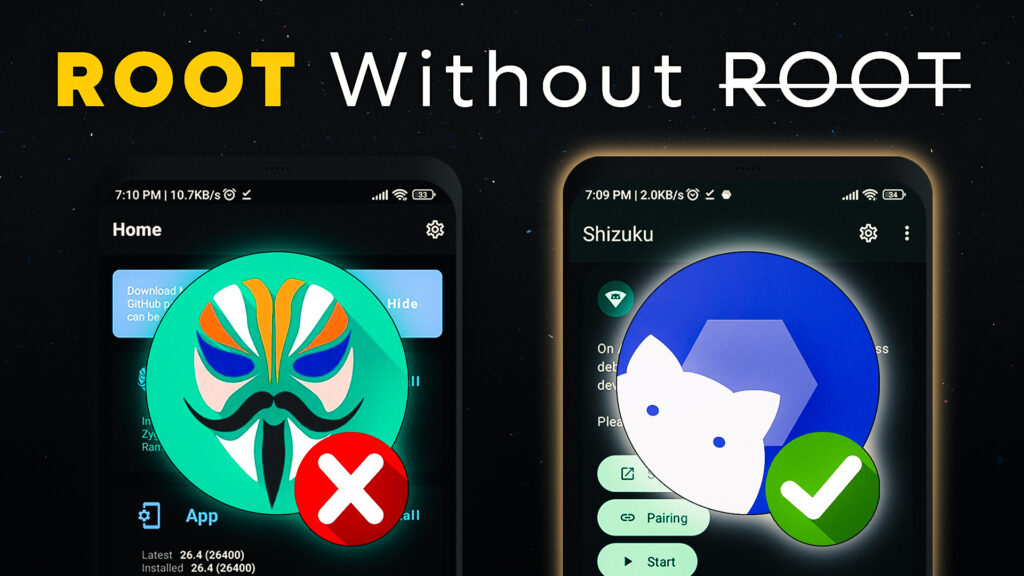
What is Shizuku ?
Hey Android enthusiasts! If you’ve ever in the world of tweaking and customizing your phone, you’ve probably heard about ROOT – the secret sauce that unlocks the full potential of your device. Magisk Manager, with its nifty systemless approach, has made it easier for users to play around with their Androids without diving too deep into the system files. And let’s not forget about LS Posed – a cool module that takes customization to a whole new level. But LS Posed Will Only Work If you’ve Magisk Manager and Magisk Manager only works if your phone is ROOTed.
Now, we get it. ROOTing isn’t everyone’s cup of chai, and some android users wants to do it. That’s where LS Patch steps in as an alternative to LS Posed. It brings a taste of customization without the need for ROOT, just because LS Posed requires Shizuku App Permission and there is a secret way through which we can use Shizuku App Without ROOT. Today, we’re here to spill the beans on Shizuku – the key to unlocking LS Posed wonders – and show you how to set it up without ROOT, making your Android dance to your tune effortlessly. So, get ready to spice up your Android experience without the techy hassle – let’s roll!
Step 01: Enable Developer Mode:
Let’s kick things off by giving your Android a backstage pass – the Developer Mode. Follow these simple steps to open the gates:
- Navigate to your phone’s settings. You can usually find this app on your home screen or in the app drawer.
- Scroll Down and Look for an option called “About phone”.
- Inside “About phone,” find an option named “Build Number.”
- Now, here’s the fun part – tap on “Build Number” multiple times. You’ll usually need to tap it seven times, but keep going until you see a message saying you’re almost there.
- At this point, your phone might ask you to enter your PIN or password. Just Enter it.
- Congratulations! You’ve successfully enabled Developer Mode. You’ll see a message confirming your new developer status.
- Go back to the main Settings menu. You’ll now find a new option called “Developer options” – this is where the real magic happens.
Step 2: Enable Wireless Debugging:
Now that you’ve cracked open the Developer Mode, let’s take it up a notch by enabling Wireless Debugging. Follow these steps:
- Start by activating Developer Mode on your Android device. If you’ve just done this in the previous step, great! If not, check the earlier instructions for a quick guide.
- Navigate to Developer Options through Settings. Depending on your phone, you might find it in Settings > System > Developer options.
- Within the Developer Options, scroll down or explore the menu until you spot the gem we’re looking for – “Wireless Debugging.” It might be under a section like “Debugging” or “Networking.”
- Once you’ve located “Wireless Debugging,” tap on it to open the settings. You’ll likely see a toggle switch – go ahead and flip it to the “On” position.
Step 3: Setting Up – Shizuku App:
Now, let’s get our hands on Shizuku and set it up for a seamless experience. Follow these steps:
- Head over to the PlayStore and search for ‘Shizuku.’ Download and install the app on your Android device. This is the gateway to unleashing the power of LS Posed without ROOT.
- Once the installation is complete, open the Shizuku app.
- Within the Shizuku app, look for an option to start pairing.
- Enable Wireless Debugging.
- In the Wireless Debugging settings, tap on the option that says “Pair device with pairing code.” This is the link that will connect Shizuku to your device.
- Shizuku will generate a pairing code. Keep an eye on your device’s notifications – you should see a prompt asking for the pairing code. Enter the code provided by Shizuku to establish the connection.
- If the pairing process doesn’t kick off smoothly, don’t worry. Try disabling and then re-enabling Wireless Debugging.
Step 4: Set up LS Patch:
Now, let’s take a leap into LS Patch and give your Android a fresh coat of customization. Follow these steps:
- Head to the ‘Downloads’ section, where you’ll find a link to download LS Patch from GitHub. Click on the link to kickstart the download.
- Once the download is complete, open the downloaded file and install it.
- After the installation is complete, open LS Patch.
- Upon opening, LS Patch may prompt you to grant Shizuku permission. Go ahead and allow it.
Step 5: Add module to LS Patch:
Now, let’s supercharge LS Patch by adding some exciting modules. Follow these steps:
- Head over to ‘https://modules.lsposed.org/‘ – your one-stop-shop for a plethora of Android modules. This repository is a treasure trove of customization waiting to be explored.
- Browse through the repository and find a module that suits your customization needs. Whether it’s enhancing performance, tweaking the UI, or adding cool features, there’s something for everyone.
- Once you’ve identified the perfect module, download it from the repository.
- Install the downloaded file.
Step 6: Patching Your App:
Now, let’s activate module. Follow these steps:
- Launch LS Patch on your device. It’s time to get hands-on with your app customization.
- In LS Patch, head over to the ‘Manage’ section and then select ‘Apps’ and hit Plus Button.
- To keep things organized, create a folder named ‘LS Patch’ in your device’s storage. After creating the folder, go back to the LS Patch app.
- Now, open ‘Choose an installed app’ within LS Patch. Pick the app you’ve downloaded the module for.
- Within the app settings, navigate to ‘Portable’ and then select ‘Embed Modules.’
- In the list of modules, locate the module you’ve downloaded. Hit the ‘Tick’ icon to confirm your selection.
- It will start paching. Once the patching is complete, install your customized app.
Video Tutorial:
Here’s step-by-step visuals to make the learning process easier.
Download Links Here:
Shizuku:
LS Patch:
LSposed Modules Repository:
Thoughts:
So, there you have it, fellow Android enthusiasts – the journey from the elusive world of ROOT to the untethered realm of customization without the need for that cup of chai-sipping ROOT access. We’ve explored the power duo of Magisk Manager and LS Posed, opening doors to a playground of tweaks and transformations.
But, as we know, not everyone fancies diving into the ROOT world. Enter LS Patch, the unsung hero that lets you savor the flavors of customization without the ROOTing complexities. Shizuku, our secret sauce in this customization recipe, becomes the key to unlocking LS Posed wonders without the need for ROOT access.
In this blog, we’ve spilled the beans on Shizuku, showing you the ropes on how to set it up without ROOT. Your Android is now ready to groove to your tune, effortlessly embracing a tailored experience.
So, whether you’re a tech wizard or someone who prefers a hassle-free spice-up for their Android, this journey has been all about making customization accessible to all. Stay tuned for more tips, tricks, and tweaks as we continue to unravel the vast possibilities of shaping your Android experience – because in the world of customization, the possibilities are endless. Let’s roll with the techy-less spice-up.
Wow, thank you so much for this detailed guide! I was able to successfully install Shizuku on my device without rooting it. Your step-by-step instructions were very easy to follow and your screenshots were super helpful. I really appreciate the time and effort you put into creating this guide.